An integration between Yesplan and your ticketing system simplifies the creation of events in your ticketing system. You can publish your events one by one as you go, but what if you want to publish many events in one run?
You can tackle publishing your events thanks to dataviews. Simply create a dataview with a list of all events that you want to publish. From that dataview you can open and publish events and they automatically disappear from your list after publishing. Here’s how it works.
In the dataview click on “Edit columns” then add the following columns:
Of course, you can add other columns to the dataview (e.g. agency, ticket prices, etc.).
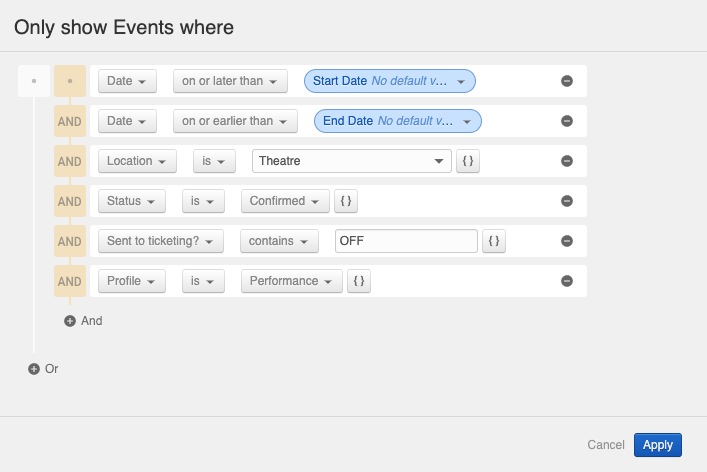
Click on “Edit filter” then add the desired filters, such as:
If you filter by the value “OFF” in the “publish” field, then you'll only see the events that have not yet been published.
In the dataview you can now
Tip: Would you like a summary of all published events? In the “publish” field, filter by the value “ACTIVE”.
